How to Compress Images for Email and Hit Any Attachment Size Limit
📧 Sending to a company or government inbox? 500KB gets through every mail server — compress here in one step.
You attach a photo, hit send, and get back: "Attachment size exceeds the maximum limit." Or worse — the email appears to send, but it never arrives. No bounce, no error, just silence.
This is one of those problems that feels random but isn't. Once you know where the limit actually comes from, fixing it takes two minutes.
Email Attachment Size Limits in 2026: Gmail, Outlook, Yahoo, and Corporate
This is the part most guides skip. The number that matters isn't your own provider's limit — it's your recipient's limit.
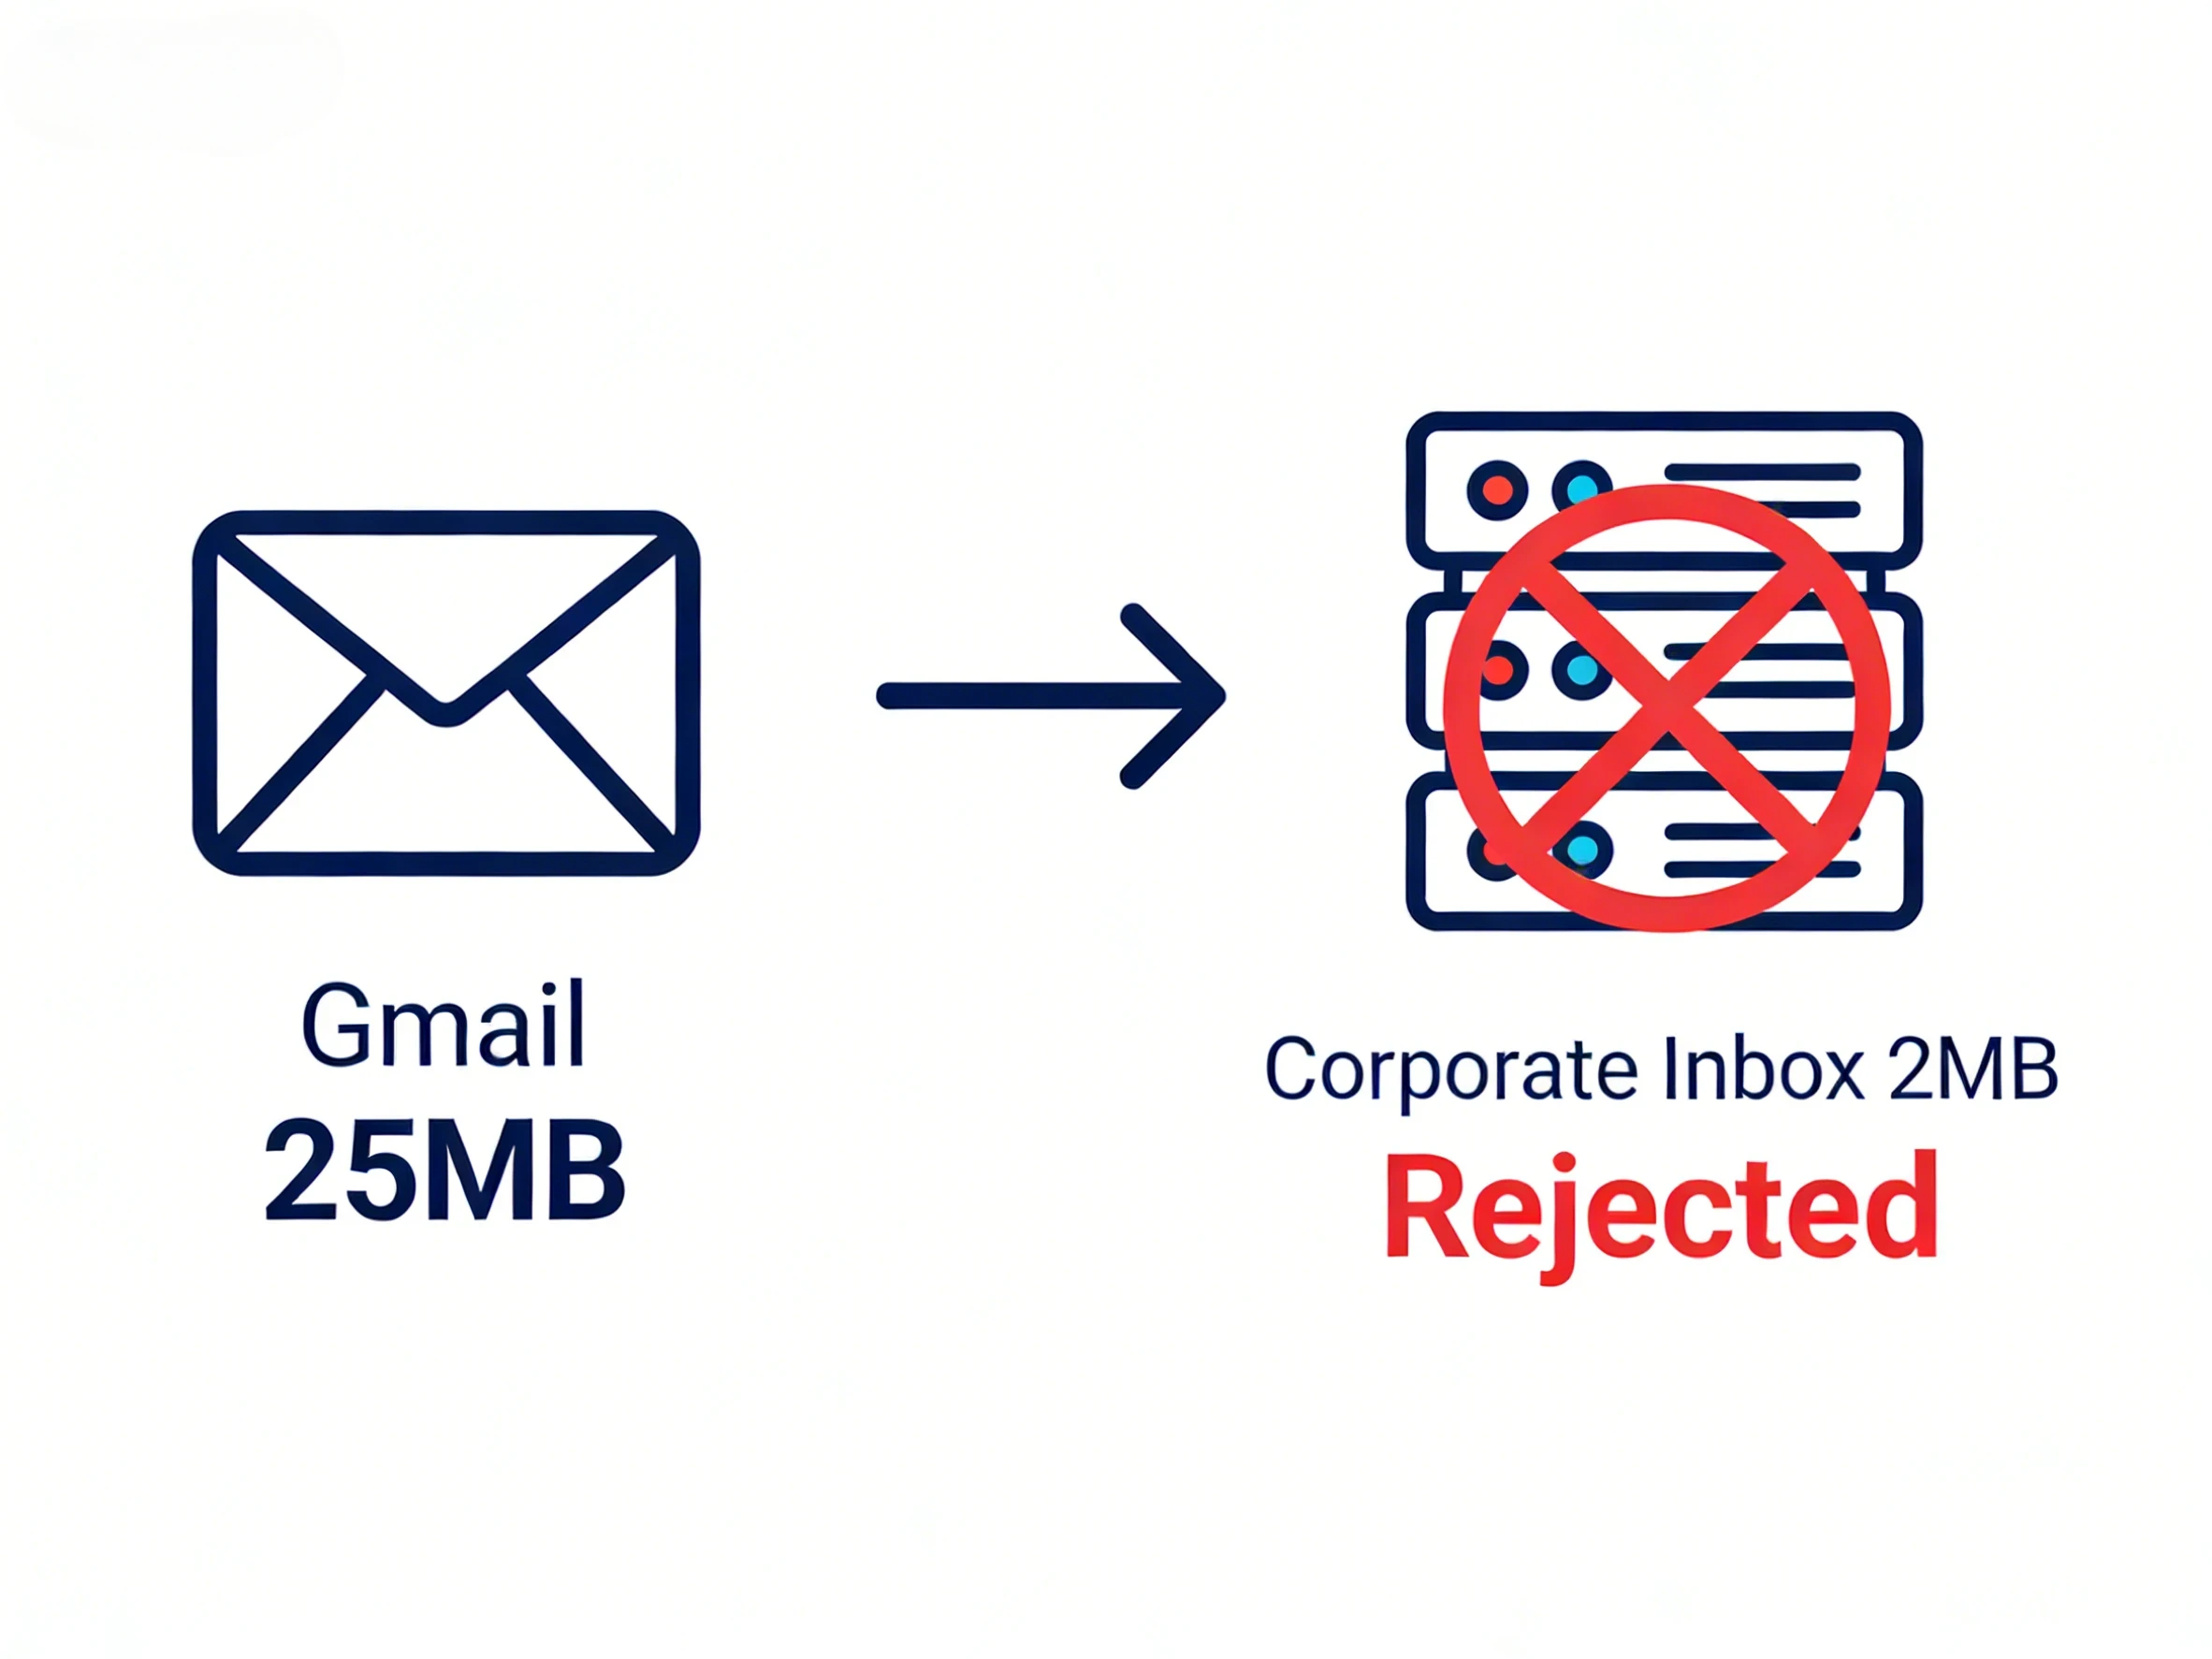
Gmail lets you send up to 25MB. But if you're emailing a photo to an HR department, a government office, or any large organization, their mail server might silently cap incoming attachments at 2–5MB. Your email clears your outbox just fine, then gets rejected the moment it hits their server. Sometimes you get a bounce notification. Often you don't.
Here's how limits actually break down:
| Email Service | Send / Receive Limit | Notes |
|---|---|---|
| Gmail | 25 MB | Files over 25MB auto-convert to a Google Drive link |
| Outlook / Hotmail | 20 MB | Personal accounts; Microsoft 365 orgs can set higher |
| Yahoo Mail | 25 MB | |
| Apple Mail (iCloud) | 20 MB | Over 20MB triggers Mail Drop (link-based, up to 5GB) |
| Corporate / enterprise email | 2–10 MB | ⚠️ Set by IT admins — varies widely |
| Government / institutional email | 1–3 MB | ⚠️ Often the strictest; 1MB is common |
One more thing worth knowing: files grow by roughly 33–40% during email transit due to Base64 encoding. A 10MB attachment becomes around 13–14MB on the wire. Plan around that when you're near the edge of a limit.
The practical rule: if you're emailing anyone at a company or government agency, assume their cap is 2–5MB, not 25MB. Compressing to 500KB means it clears every mail server, no questions asked.
Why Are Photos So Large in the First Place?
Worth a quick explanation, because understanding this helps you pick the right fix.
Modern smartphone cameras shoot at 12–48 megapixels. A single photo from an iPhone or mid-range Android is typically 4–10MB — even after the phone's own compression kicks in. That's just what high-resolution photos weigh. You don't notice it when you're scrolling your camera roll, but the moment you try to email three of them, you've got 15MB before you've thought about anything else.
Screenshots are usually fine — 500KB to 2MB depending on resolution. The problems tend to be camera photos and exports from design tools.
PNG files from Canva, Figma, or Photoshop are especially heavy. A design with a transparent background can easily hit 8–15MB, because PNG stores every pixel without the lossy compression that keeps JPGs small. If you're exporting a presentation slide or a logo to send over email, PNG is almost always the wrong format choice.
Method 1: Compress the Image to a Specific Target Size
This is the most reliable approach, and the only one that lets you hit a precise number like "under 500KB" or "under 200KB."
The key is picking a target that works for your strictest likely recipient, not an average:
- Sending to a government office, visa application portal, or strict HR system → target 200KB
- Sending to a corporate email address or general professional contact → target 500KB
- Sending to a personal Gmail, Outlook, or Yahoo inbox → target 1MB
- Not sure? → 500KB covers everything
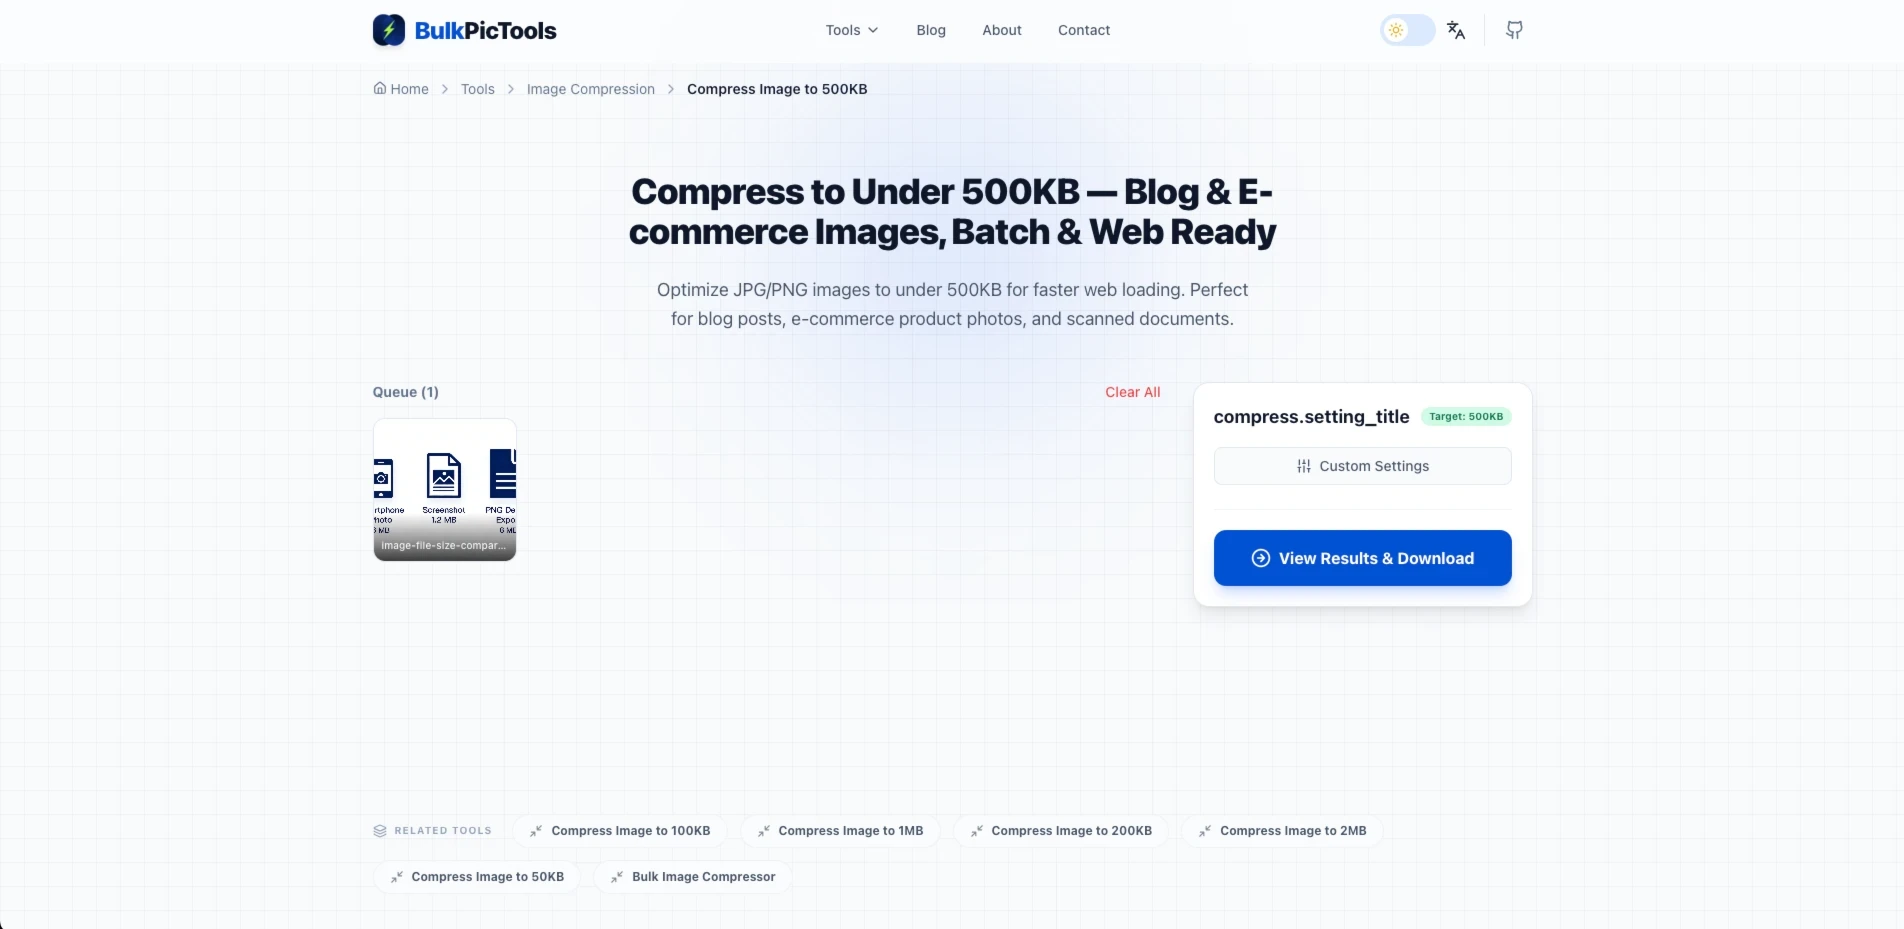
BulkPicTools processes your images directly in the browser — nothing gets uploaded to any server. You can compress a batch of photos at once and download them in under a minute.
Steps:
- Go to bulkpictools.com in any browser — no install needed
- Open the tool that matches your target:
- Compress to 200KB — for government portals and strict submission systems
- Compress to 500KB — for corporate and professional email
- Compress to 1MB — for personal inboxes with a general limit
- Image Compressor — for custom targets or multiple photos at different sizes
- Drag in your photos (you can upload several at once)
- Download the compressed files — they land in your Downloads folder, ready to attach
- Swap out the original attachment in your email with the compressed version
That's it. For a batch of five photos, the whole process is still faster than any other method here.
Method 2: Share a Link Instead of an Attachment
Compression is the right answer for most cases. But if the recipient specifically needs original quality — a photographer delivering RAW exports, a designer handing off print-ready files — compressing isn't appropriate. In that case, skip the attachment entirely.
Gmail: When you try to attach a file over 25MB, Gmail prompts you to send it as a Drive link automatically. For smaller files where you still want to share without compressing, click the Google Drive icon at the bottom of the compose window.
Outlook: Use the OneDrive paperclip option when composing — attach from OneDrive and insert as a link, not a direct file.
Any provider: Upload to Google Drive, Dropbox, or WeTransfer first, then paste the share link in the email body.
One real limitation: government agencies and some HR portals don't accept link submissions at all. Their intake form requires a direct file attachment, not a URL. For those situations, Method 1 is the only option.
Method 3: Use the Built-In Tools on Your Computer
If you're on a desktop and want a quick fix without a browser tab, both Windows and Mac have basic options built in.
Windows: Right-click the image file → hover over Send to → click Mail recipient. A dialog asks which size to send — choose "Small" or "Smaller." Windows resizes the image and drops it into a new email draft automatically.
You can also open the photo in Paint, go to Resize, and reduce by percentage. Try 50% first, then check the file size.
Mac: Open the photo in Preview, go to Tools → Adjust Size, reduce the dimensions, then export with File → Export and lower the quality slider for JPGs.
Honest limitation: both methods adjust dimensions and quality by feel rather than targeting a specific file size. If you need to land under exactly 500KB or 200KB, you'll probably need to try a couple of times. For anything with a stated size requirement, Method 1 is faster and more precise.
How to Compress Images for Email on iPhone or Android
Phones don't have a built-in "compress to X KB" option, which surprises a lot of people. The operating system can reduce image quality when sharing, but it doesn't let you specify a target size.
The fastest path on mobile: open your phone's browser, go to bulkpictools.com, and use the same workflow as on desktop. The tool works identically in a mobile browser — tap to upload from your camera roll, set your target, download, and attach.
On iPhone, you can also share a photo from your camera roll → tap Share → select "Mail" → iOS will ask whether to resize the image (Small, Medium, Large, Actual Size). Choosing "Small" can get a typical photo down to around 100–300KB. Useful for speed, but again — you're not hitting a precise size.
Which Method Should You Use?
| Situation | Best method |
|---|---|
| Sending to a corporate HR department | Method 1 — compress to 500KB |
| Emailing a government office or portal with a stated limit | Method 1 — compress to 200KB |
| Multiple photos, specific size requirements | Method 1 — batch upload |
| Sending high-resolution originals where quality must be preserved | Method 2 — Drive / Dropbox link |
| Recipient requires a direct file attachment (government, HR forms) | Method 1 — compression is the only option |
| Quick desktop resize, no exact size target needed | Method 3 — Windows or Mac built-in |
| On iPhone or Android | BulkPicTools in mobile browser, or iOS Mail resize |
| Not sure of the recipient's limit | Method 1 — compress to 500KB |
The Short Version
Most email delivery failures with images come down to one thing: corporate and government mail servers have much stricter caps than personal accounts, and those limits aren't visible to the sender until the email bounces — or disappears.
500KB is the universal safe size. It clears every mail server reliably. At 500KB, a photo still looks completely fine on any screen — you won't notice any quality difference in a normal viewing context.
If your situation has a specific stated limit (under 200KB, under 1MB), use BulkPicTools to hit that target in one step, directly in your browser, with no file uploads or accounts required.
FAQ
Does Gmail compress photos when you send them as attachments?
No. Gmail delivers email attachments as-is — it does not compress or resize images before sending. If you attach a 6MB photo, the recipient gets a 6MB file. Gmail only steps in when a file exceeds 25MB, at which point it automatically converts the attachment to a Google Drive link instead of sending the file directly.
What's the maximum image size you can send in an email?
It depends on both your provider and the recipient's. Gmail and Yahoo allow up to 25MB; Outlook allows 20MB. The real limit is usually the recipient's mail server — corporate inboxes are commonly capped at 2–5MB, and government or institutional inboxes at 1–3MB. If you're unsure, compress to 500KB, which clears every server reliably.
How do I reduce photo size for email on iPhone?
Open the Photos app, tap Share, select Mail, and iOS will ask which size to send — choose "Small" for the biggest reduction. This gets most photos down to 100–300KB. For a precise target (like "under 200KB"), open Safari on your iPhone, go to bulkpictools.com, and use the Compress to 200KB tool — it works directly in the mobile browser from your camera roll.
How do I compress photos for email on Android?
Android doesn't have a built-in "compress to X KB" option. The quickest path: open Chrome on your phone, go to bulkpictools.com, tap to upload from your gallery, choose your target size, and download the compressed file to attach.
How do I resize photos for email attachments in Outlook?
Outlook doesn't have a native resize option before sending. If you're on Windows, right-click the image → Send to → Mail recipient, then choose "Small" or "Smaller" from the dialog. For a specific size target — like under 500KB for a corporate inbox — use bulkpictools.com before attaching; it's faster and more precise than the built-in option.
How do I compress multiple photos to send by email at once?
Use the Image Compressor on BulkPicTools — drag in a folder of photos, set your target size, and download them all compressed at once. It processes the batch locally in your browser, so nothing gets uploaded to any server.
Have questions or feedback? Contact