
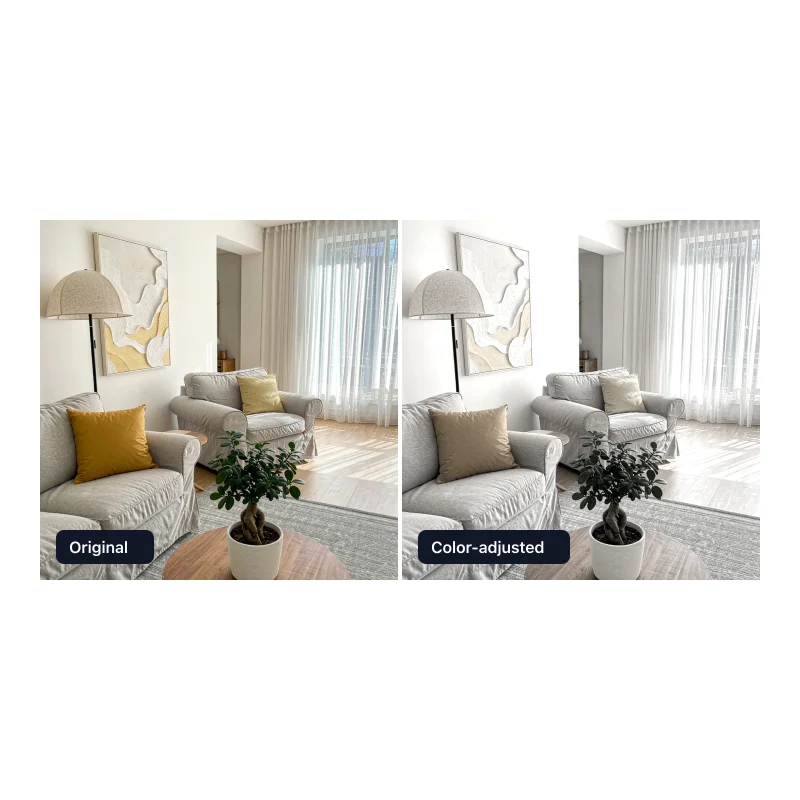
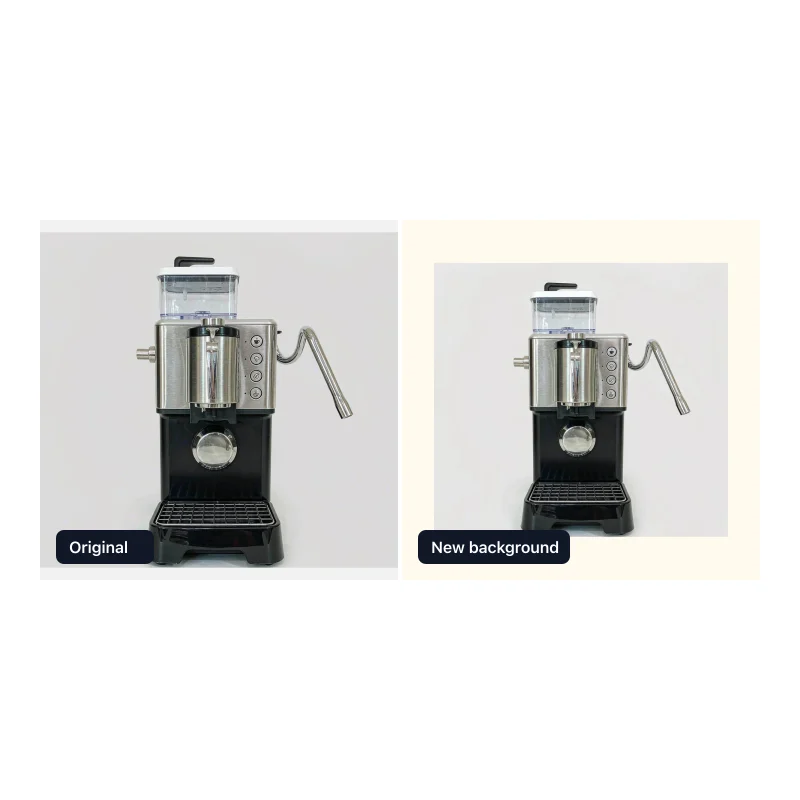
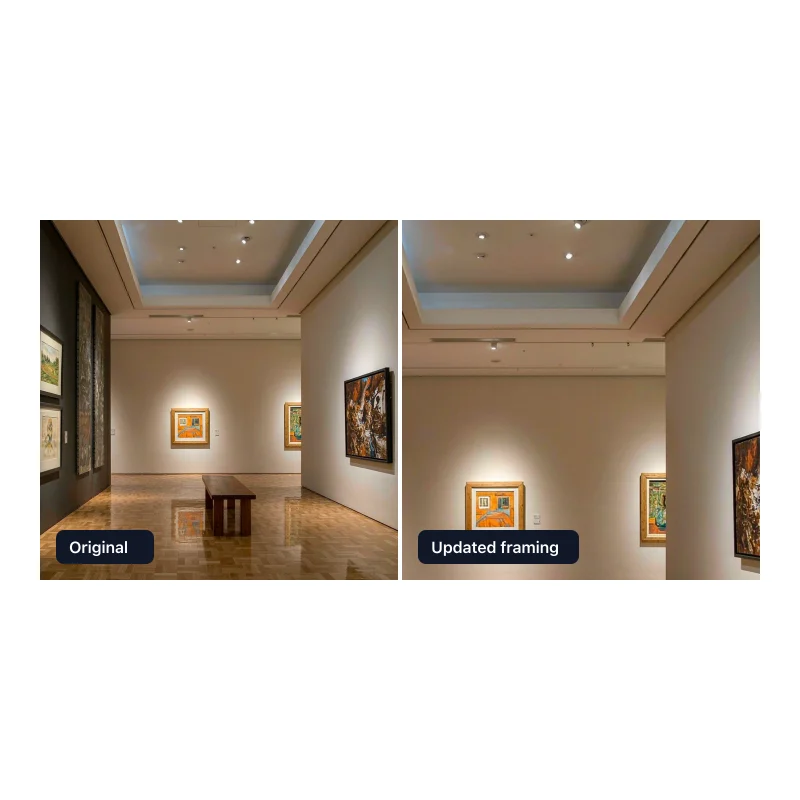
Choose a Layout for Your Before-and-After Comparison
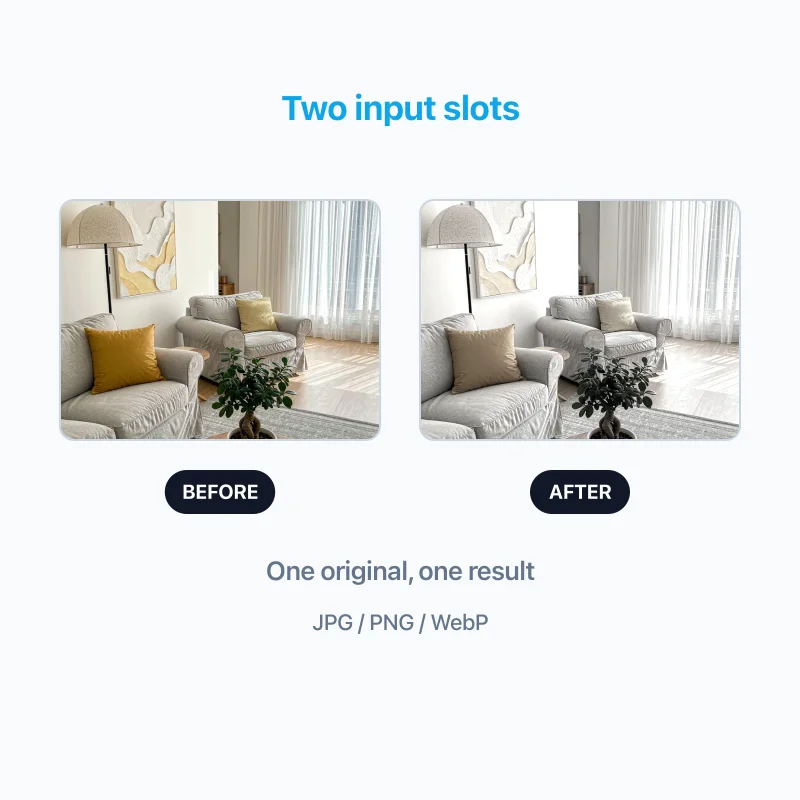
This before and after picture maker keeps the job to two photos and one static file. The steps above explain how to make before and after pictures; if you are wondering how to make before and after photos with matching framing, start by using the same crop and canvas ratio for both slots.
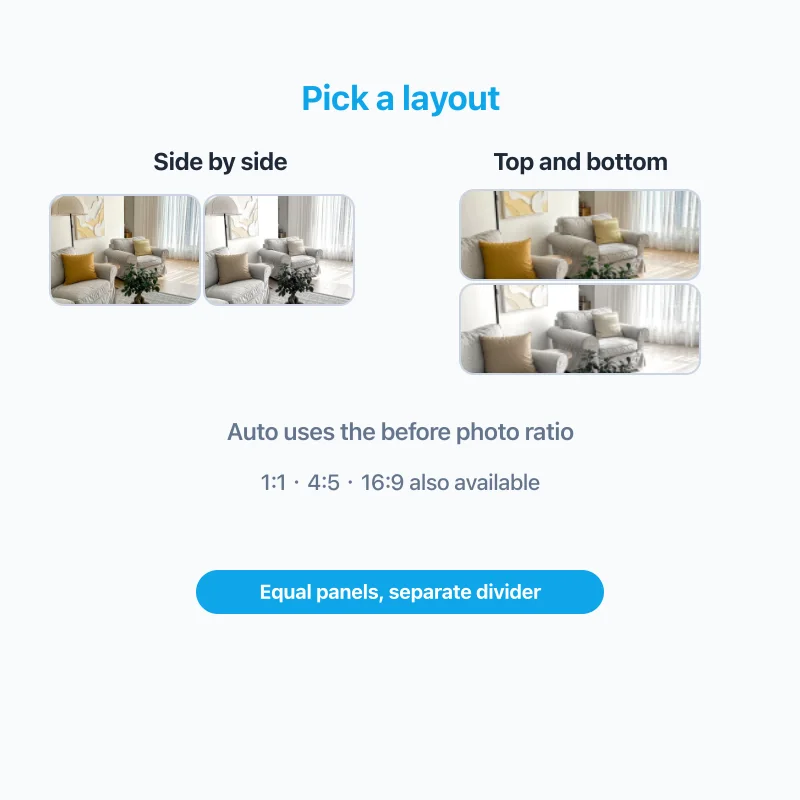
Side-by-side comparison
Place the before photo on the left and the after photo on the right. This layout keeps both images visible at the same time and works well when the photos share a similar framing. Auto uses the corrected aspect ratio of the before photo, doubled for side by side.
Top-and-bottom comparison
Stack the before photo above the after photo so the panels sit top and bottom in one tall image. Choose this layout when a vertical arrangement works better for your presentation, such as a tall portrait or a social post. Auto halves the before photo's aspect ratio for this layout.
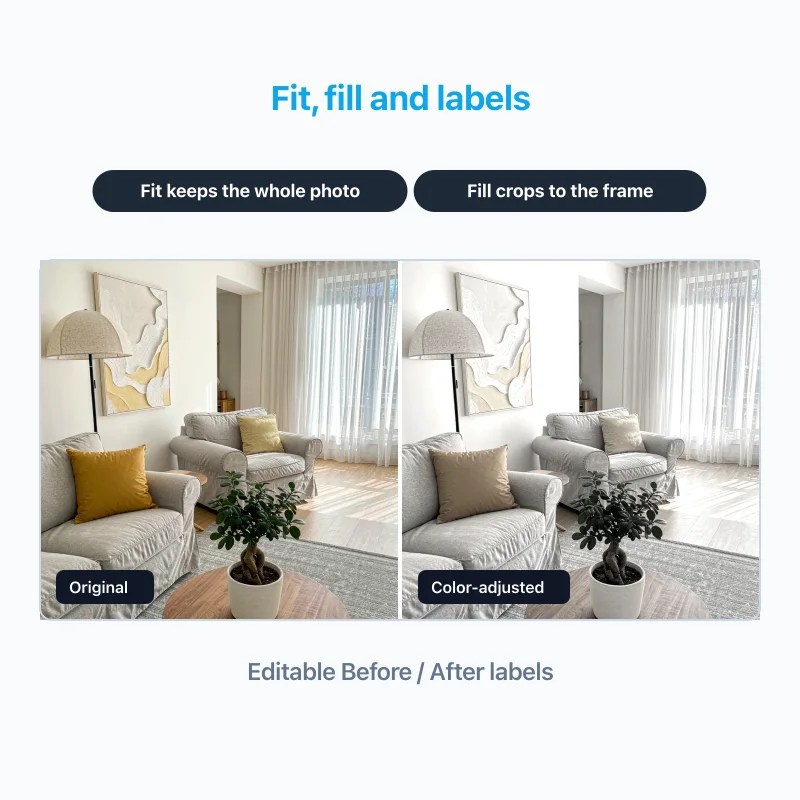
Keep the full photo or crop to fit
Fit preserves the full image and fills any extra space with your chosen background color. Fill covers the frame and crops the edges without stretching the photo; horizontal and vertical position sliders let you choose the crop centre for each photo. You can also set 1:1, 4:5, or 16:9 as a fixed canvas ratio, change the background and divider color, and set the divider to zero.
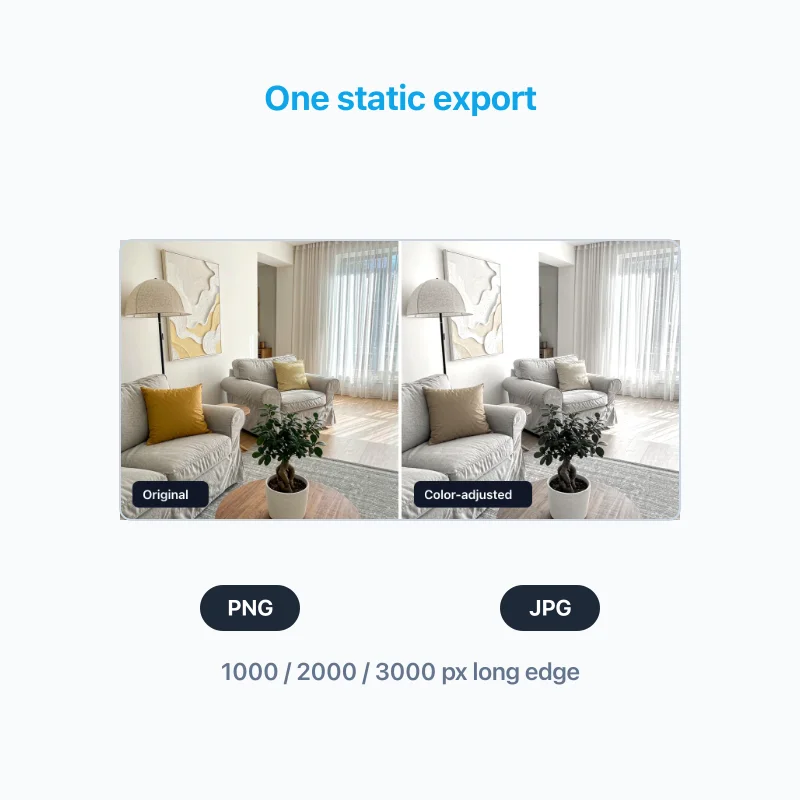
Pick an output long edge of 1000, 2000, or 3000 px — the other side is calculated from the canvas ratio, and the interface shows the exact export dimensions. If the export is larger than one of your source photos, some areas may look softer; the maker never claims to add detail that was not there.
Need a custom multi-photo layout? Use our image merger for flexible grids, spacing, and more than two images.