How to Batch Resize Images Without Quality Loss (2026 Guide)
🚀 Skip straight to resizing:
You upload a photo that looks sharp on your phone. It hits Instagram and comes out blurry. Or you hand off a folder of product photos to a client and they come back asking why everything looks soft.
Nine times out of ten it's not the camera. It's the resize step — specifically, feeding a platform the wrong dimensions and letting it do the resizing for you. Every platform has its own compression algorithm, and none of them are gentle about it. When you give Instagram a 4000px wide photo and it needs a 1080px square, it's not carefully downscaling — it's aggressively discarding pixels. The result is the muddy, low-contrast version of your photo that makes it look like it was shot on a 2012 phone.
The fix is straightforward: resize to the exact dimensions yourself, before uploading. This guide covers the specific pixel dimensions that actually work in 2026, how batch processing works without uploading anything, and the quality settings that make a real difference.
Why Resized Photos Lose Quality (And When They Don't)
Resizing down — making an image smaller — doesn't inherently destroy quality. The issue is the algorithm doing the resizing.
The cheapest approach is nearest-neighbor interpolation: the software just picks the closest existing pixel for each new pixel position. Fast, but produces jagged edges and visible stepping on diagonal lines. Most "quick" online resizers use this or something equally basic.
Better tools use bicubic interpolation — it samples a grid of surrounding pixels and calculates a weighted average for each new pixel. Edges stay smoother, gradients stay cleaner, and fine details hold up much better when you're scaling down significantly. The difference is most visible on text in images, thin lines, and hair.
Resizing up (making an image larger) is a different problem. You're asking the software to invent pixels that don't exist. Even with good algorithms, going much above 120–130% of the original size will show. There's no real fix for this — if you need a larger image, you need a higher-resolution source.
The tools below use bicubic scaling at maximum quality. Your browser handles the computation locally — no upload, no waiting for a server.
2026 Size Reference: What to Use for Every Platform
These are the dimensions that avoid platform re-compression. Hitting the exact spec means the platform has nothing to resize.
Social Media
| Platform & Format | Recommended Size | Notes |
|---|---|---|
| Instagram Post (square) | 1080×1080 px | 1:1 ratio |
| Instagram Post (portrait) | 1080×1350 px | 4:5 ratio — takes up more feed space |
| Instagram Post (landscape) | 1080×566 px | 1.91:1 ratio |
| Instagram Stories / Reels | 1080×1920 px | 9:16 full screen |
| Facebook Profile Cover | 820×312 px | Displays at 820×312 on desktop, crops on mobile |
| Facebook Group Banner | 1640×856 px | Mobile-safe zone matters here |
| YouTube Thumbnail | 1280×720 px | 16:9, max 2MB, JPG or PNG |
| YouTube Channel Art | 2560×1440 px | Safe zone for all devices: 1546×423 px centre |
| Twitter/X Post | 1600×900 px | 16:9 displays best in feed |
| LinkedIn Post | 1200×627 px | 1.91:1 |
| Pinterest Pin | 1000×1500 px | 2:3 ratio performs best |
→ Platform-specific tools: Instagram Resizer · Facebook Resizer · YouTube Thumbnail Resizer
E-commerce
| Platform | Recommended Size | Notes |
|---|---|---|
| Shopify Product Image | 2048×2048 px | Square 1:1, max 20MB, supports zoom |
| Etsy Listing Photo | 2000×2000 px minimum | Square performs best in search grid |
| Amazon Product Main | 2000×2000 px minimum | White background required, zoom needs 1600px+ |
| eBay Listing Photo | 1600×1600 px | Minimum 500px, but larger ranks better |
| WooCommerce Product | 800×800 px minimum | Depends on your theme — check your theme docs |
For e-commerce, consistent square dimensions across your whole catalog matters more than hitting a specific pixel count. Upload 50 product photos at different aspect ratios and your shop looks unprofessional regardless of quality. Bulk Image Resizer lets you apply the same dimensions to an entire folder at once.
Web & Email
| Use Case | Recommended Size | Notes |
|---|---|---|
| Website hero image | 1920×1080 px | 16:9. Above this is overkill for most monitors. |
| Blog post featured image | 1200×630 px | Also the Open Graph default — works for social sharing |
| Blog post inline image | 800–1200 px wide | Keep under 200KB after resizing for page speed |
| Email newsletter | 600 px wide | Wider than this causes rendering issues on some clients |
| Email banner | 600×200 px | Standard safe size |
Print dimensions depend on the DPI (dots per inch) you're printing at. 300 DPI is standard for professional print quality.
| Print Size | 300 DPI Pixel Dimensions |
|---|---|
| 4×6 inch (postcard) | 1200×1800 px |
| 5×7 inch | 1500×2100 px |
| 8×10 inch | 2400×3000 px |
| A4 (210×297 mm) | 2480×3508 px |
| A3 (297×420 mm) | 3508×4961 px |
If you're printing at home at 150 DPI (acceptable for large-format prints viewed from a distance), halve these numbers.
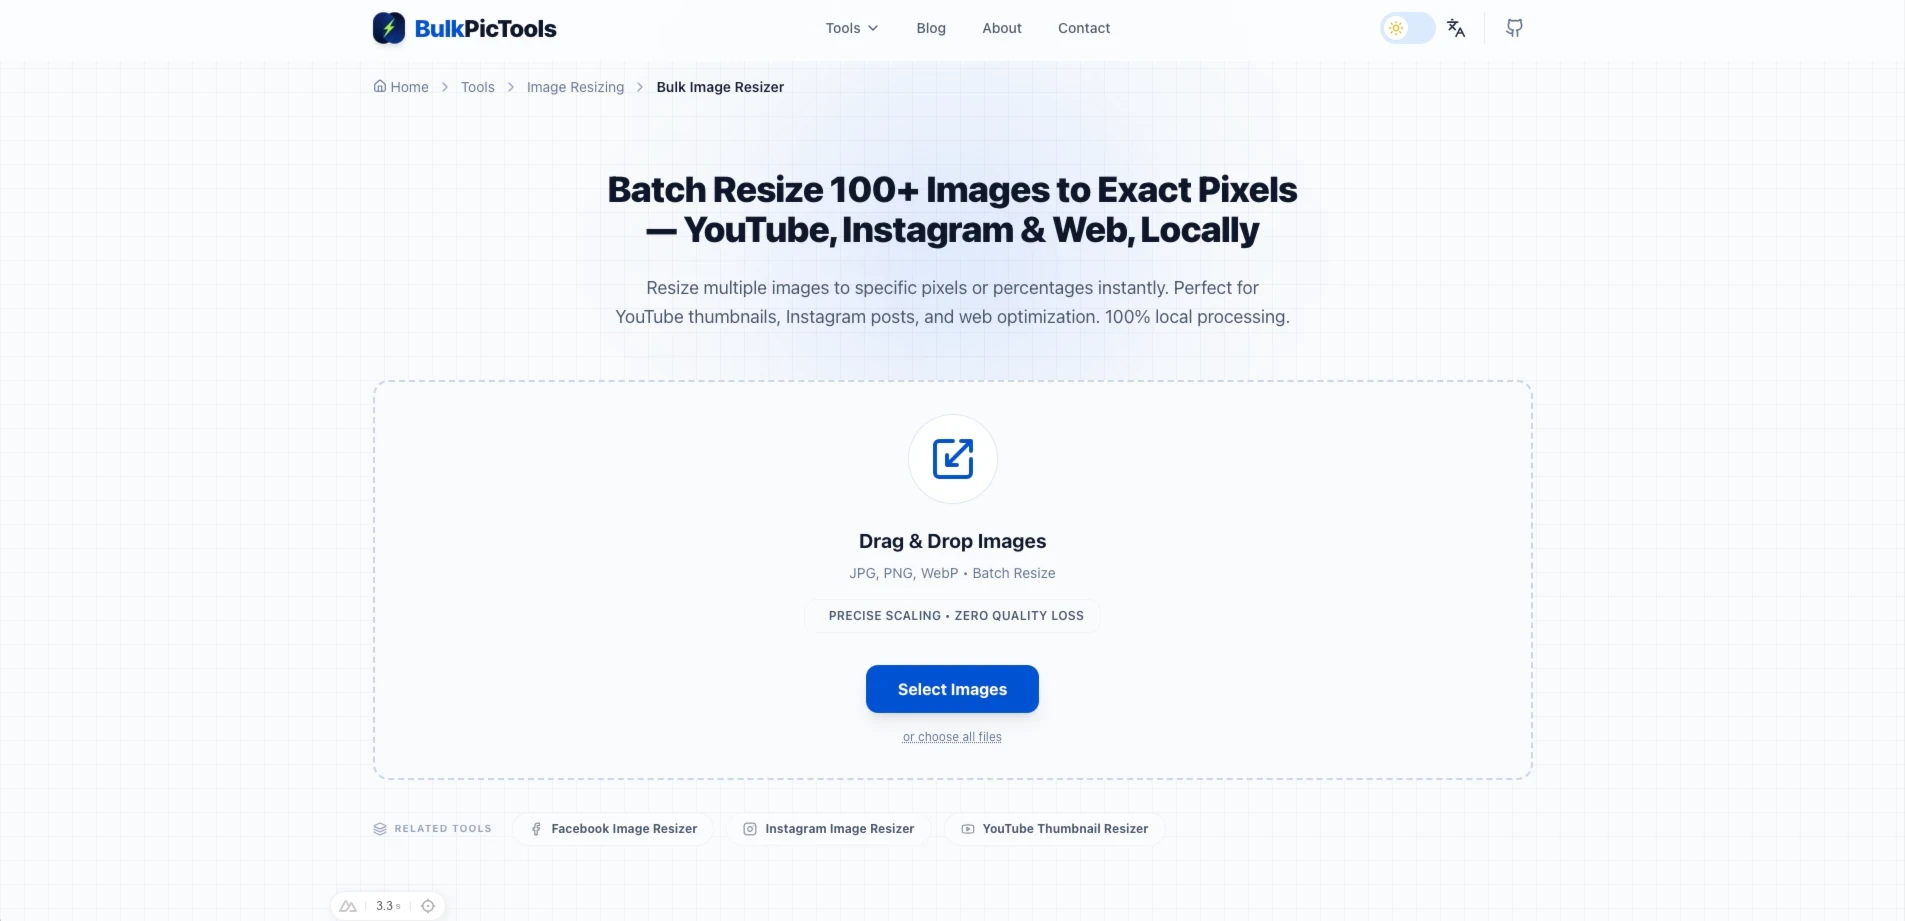
How to Batch Resize Without Uploading Anything
Most online resize tools process one image at a time and upload your files to a server. For a folder of 200 product photos, that means 200 uploads, 200 downloads, and your images sitting on someone else's server indefinitely.
Bulk Image Resizer works differently — it runs entirely in your browser. Your files never leave your device.
Step 1: Open the tool and drag in your files
Drag your entire folder, or select multiple files. There's no file limit — 500 photos works the same as 5.
Step 2: Set your target dimensions
Enter width, height, or both. You can also resize by percentage if you want to scale everything down to 50% of original size, for example. The aspect ratio lock keeps proportions correct when you only set one dimension.
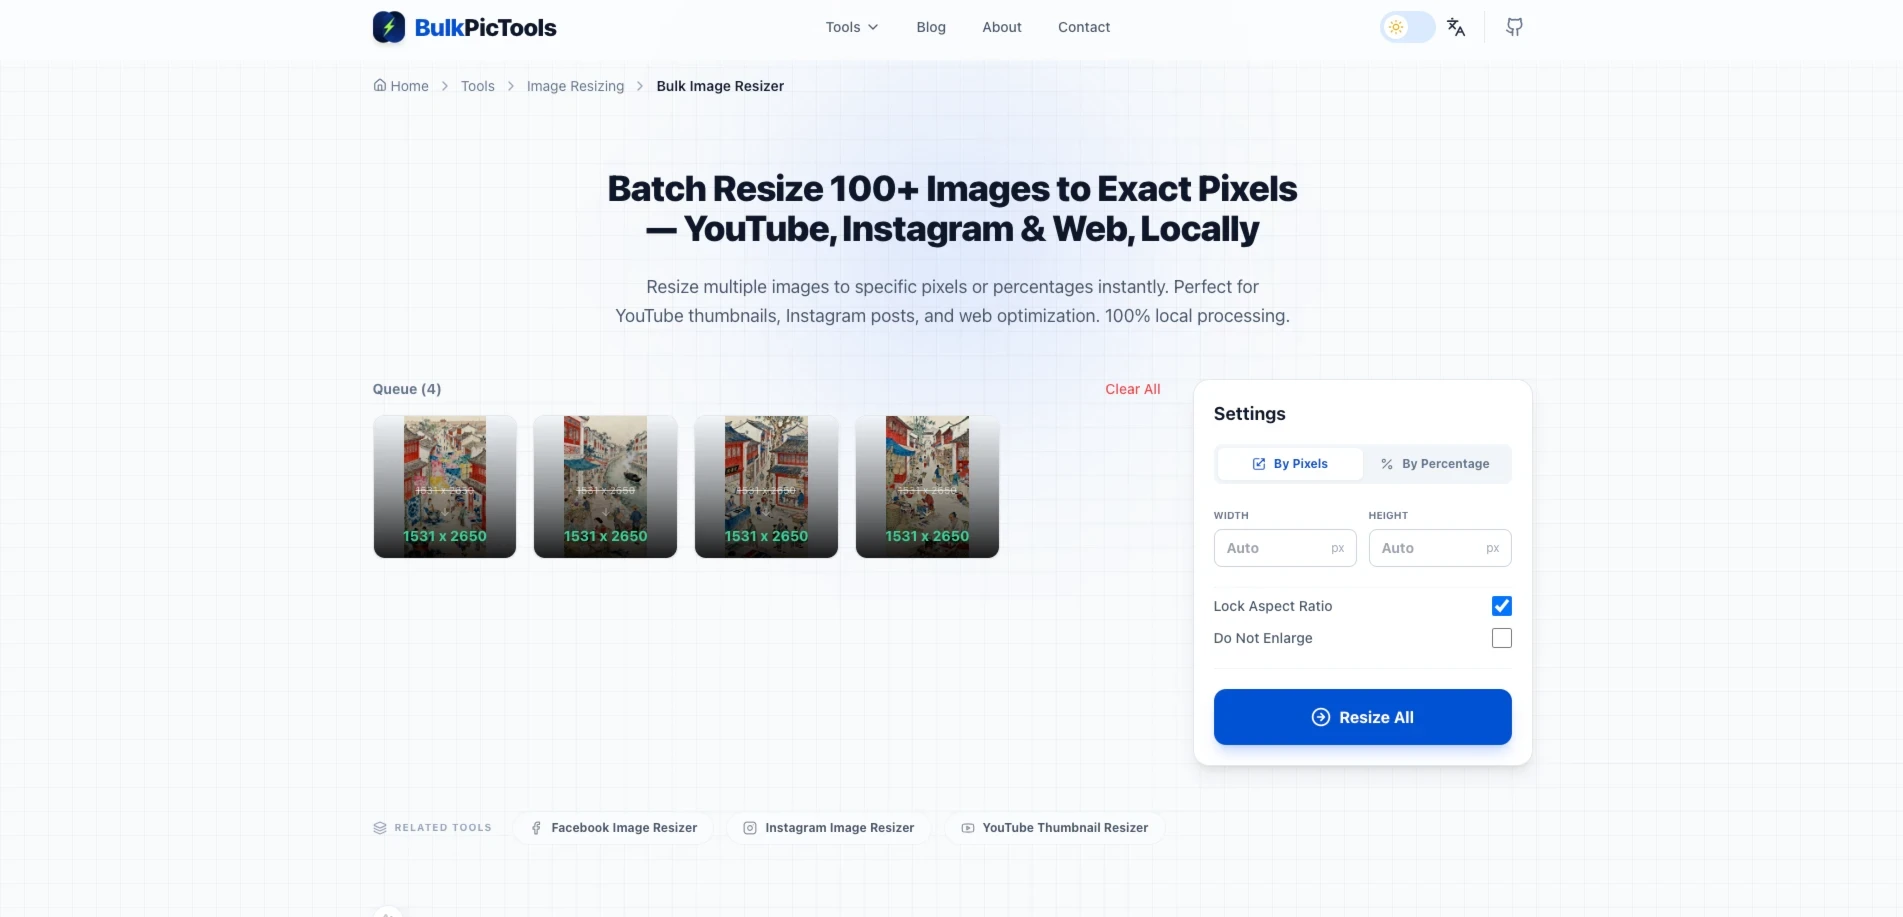
Step 3: Process and download
Click Process. The tool uses bicubic interpolation at maximum quality — the same algorithm Photoshop uses for "Bicubic Sharper" when scaling down. Download individual files or a ZIP of the whole batch.
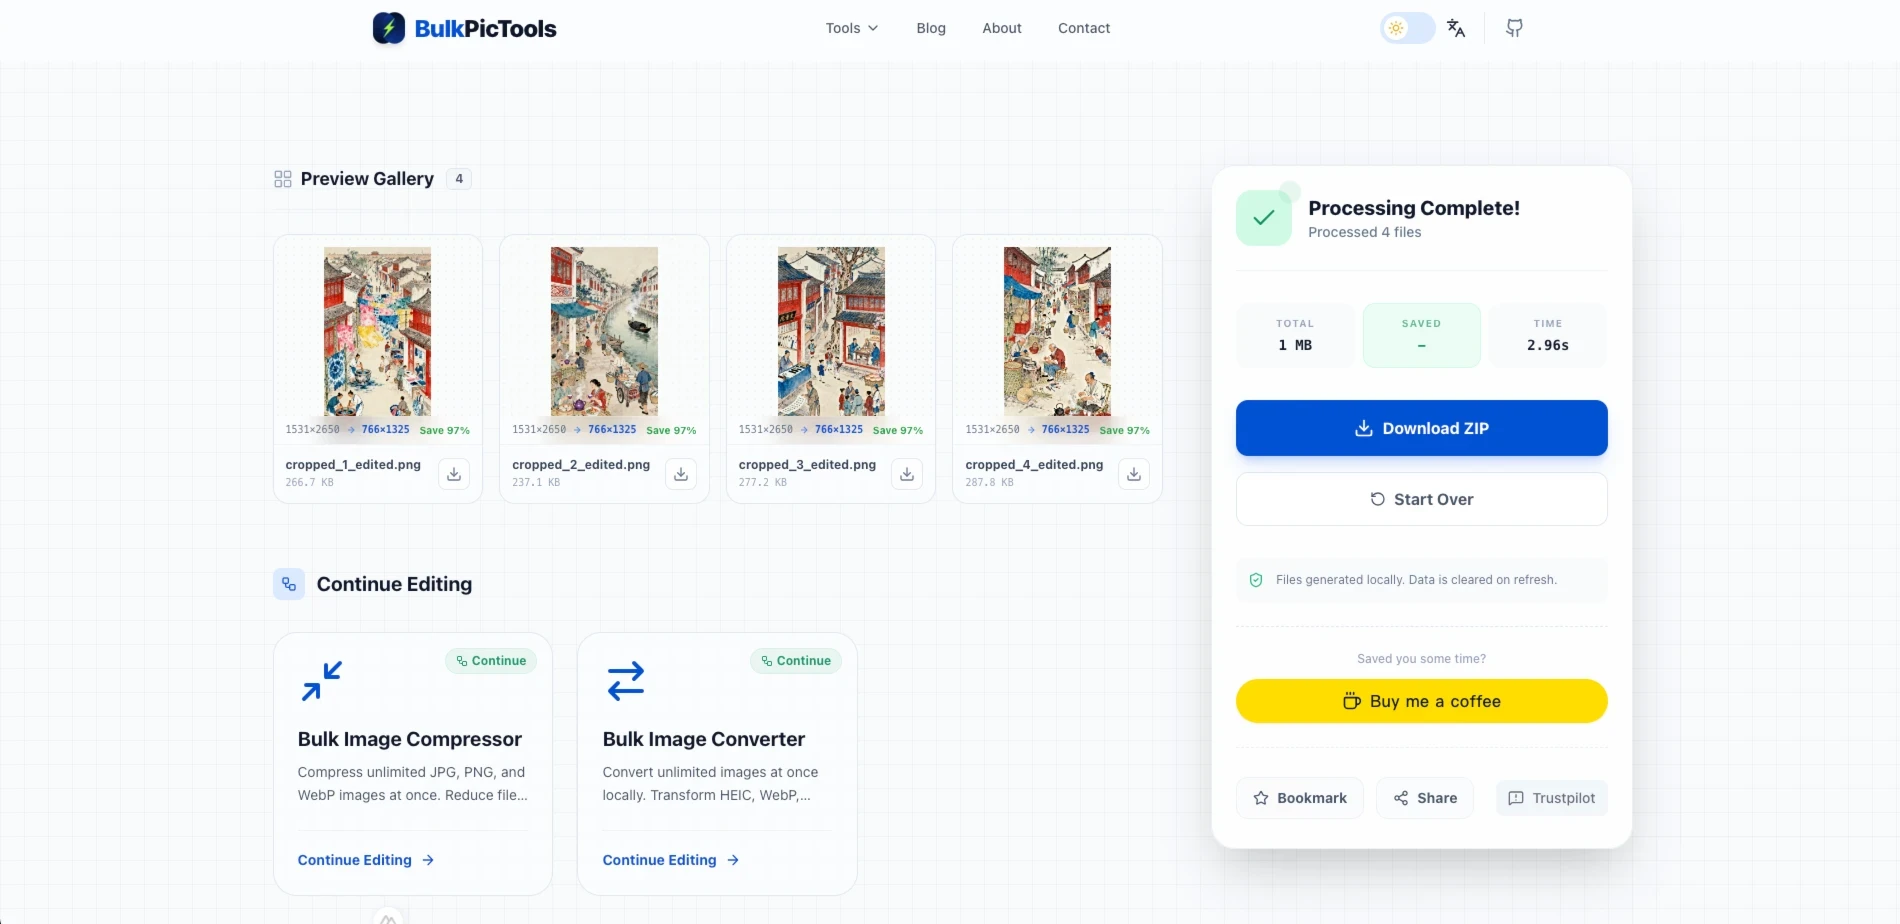
Total time for 100 photos: Under 60 seconds on a modern laptop. No queue, no upload progress bar, no waiting.
Platform-Specific Resizers
If you're working on one specific platform rather than a mixed batch, the dedicated tools have the right presets built in so you don't need to look up dimensions:
- Instagram Image Resizer — Feed, Stories, and Reels presets. Includes a "no-crop" padding option that fits any photo into 1:1 or 4:5 without cutting anything off.
- Facebook Image Resizer — Profile, Cover, Group Banner, and Event Header presets. Handles the mobile-safe zone so your cover image doesn't crop weirdly on phones.
- YouTube Thumbnail Resizer — Locks to 1280×720, auto-checks the 2MB file size limit, pads landscape or portrait images to fit 16:9 without stretching.
After Resizing: File Size Still Too Large?
Resizing reduces file size, but not always enough — especially if you're working with high-resolution RAW exports or PNG files. A 1080×1080 PNG can still be 2–3MB after resizing, which is too heavy for web use.
After resizing, if the file is still too large:
- For web images (blog posts, portfolio): Compress to 500KB keeps quality high while dropping file size significantly
- For email attachments or uploads with strict limits: Compress to 200KB or Compress to 100KB
- For social media where you want maximum quality: Convert to WebP — typically 30–50% smaller than JPG at equivalent visual quality
Common Mistakes That Cost You Quality
Resizing up instead of starting with a larger source. If your original photo is 800×800 and you're resizing to 2000×2000 for an Amazon listing, you're not getting more quality — you're getting a blurry upscale. Go back to the original full-resolution file.
Saving as PNG when JPG is fine. PNG is lossless and great for graphics, logos, and anything with transparency. For photographs, it produces files 3–5× larger than an equivalent-quality JPG with no visible difference. Most platform image uploads are photographs — save as JPG.
Resizing then re-editing. Make all your edits on the original full-resolution file, then resize as the last step before export. Editing a resized image and then resizing again stacks quality losses.
Using the wrong aspect ratio for the platform. A 1200×900 photo forced into Instagram's 1:1 square will get cropped by the app — and not necessarily in the way you'd choose. Pre-crop to the right ratio before resizing. Bulk Image Cropper handles this before you resize.
FAQ
Does batch resizing actually reduce quality?
Resizing down reduces the number of pixels, which is a permanent change. But with a good algorithm (bicubic interpolation), the quality loss at typical reduction ratios — say 4000px to 1080px — is essentially invisible at normal viewing distances. What destroys quality is letting platforms do the resizing for you, or using a low-quality algorithm like nearest-neighbor.
Can I resize without cropping?
Yes. Set only the width or height (not both), and the tool maintains the original aspect ratio. If you need to fit a specific box — like Instagram's 1:1 square — without cropping, the Instagram Resizer has a "no-crop" padding mode that adds white borders to fill the frame.
What's the difference between resizing and compressing?
Resizing changes pixel dimensions. Compressing reduces file size while keeping the same pixel dimensions, by discarding some image data. For web use, you typically do both: resize to the right dimensions, then compress to a target file size. The compression tools handle the second step.
Is there a file size or number limit?
No upload limits because nothing is uploaded. Processing happens in your browser using your device's memory. Practical limits depend on your device — on a modern laptop, processing 500 photos at once is fine.
Does it work on HEIC photos from iPhone?
Bulk Image Resizer works with JPG, PNG, and WebP. For HEIC files from an iPhone, convert to JPG first, then resize. The conversion also runs locally with no upload.
Recommended dimensions are based on platform documentation as of early 2026. Social platforms update their specs occasionally — if you notice discrepancies, check the platform's official help centre.
Have questions or feedback? Contact